Saving a Vintage Five Speed Brompton

A five-speed Brompton back in action after the rear triangle failed

This story began when one day my brother was about to ride my Brompton to the city centre. I noticed the rear triangle wasn't aligned with the frame. Investigating, I noticed the triangle hinge was loose. So I went to tighten up the machine screws, and then I spotted a small crack in the triangle near the hinge.

The Brompton in question is my much-loved but hard-worked vintage five-speed model. It has a Sturmey-Archer transmission that has two levers, one being the standard three-speed selector, and one being a reversed three-speed selector that allows the transmission to be wide range or narrow range (call them W and N respectively). Second gear is the same ratio in both wide and narrow ranges, so only first and third are affected by the wide/narrow selector. Thus to work your way up through all ratios, you start with W1, then select N1 - N2 - N3 - W3. In other words, left selector - right selector - right selector - right selector - left selector. So whilst it has a narrower range of ratios than modern six-speed Bromptons (with a two position derailer), the Sturmey-Archer magic allows you to shift up through the gears very quickly indeed, and you can change to any gear when stationary. Whilst it's certainly weird, it's much easier to use than the six-speed system. I love it.

Unfortunately the rear triangles for this bike are pure unobtainium (I'll come to what makes them special). It looked like it was the end of the road for this Brompton, but then Push Bikes' Chris L upgraded his Brompton to belt drive, and offered me his old triangle. He has a much more modern Brompton, but it was the opportunity for me to experiment, and to write about that experiment. This article describes an experiment; it is very much not a how-to guide. If you choose to do the same yourself, you do so at your own risk. Don't even attempt to do the same if you don't have the necessary tools and the skills to use them, or you are unwilling to accept the risk that it might end in disaster.

The Brompton is now back on the road, and yesterday I completed a two-hour loop using a route suggested by the late Roy Watson's wonderful Birmingham Greenways map.

Tags: 

Cracked Vintage Brompton Rear Triangle
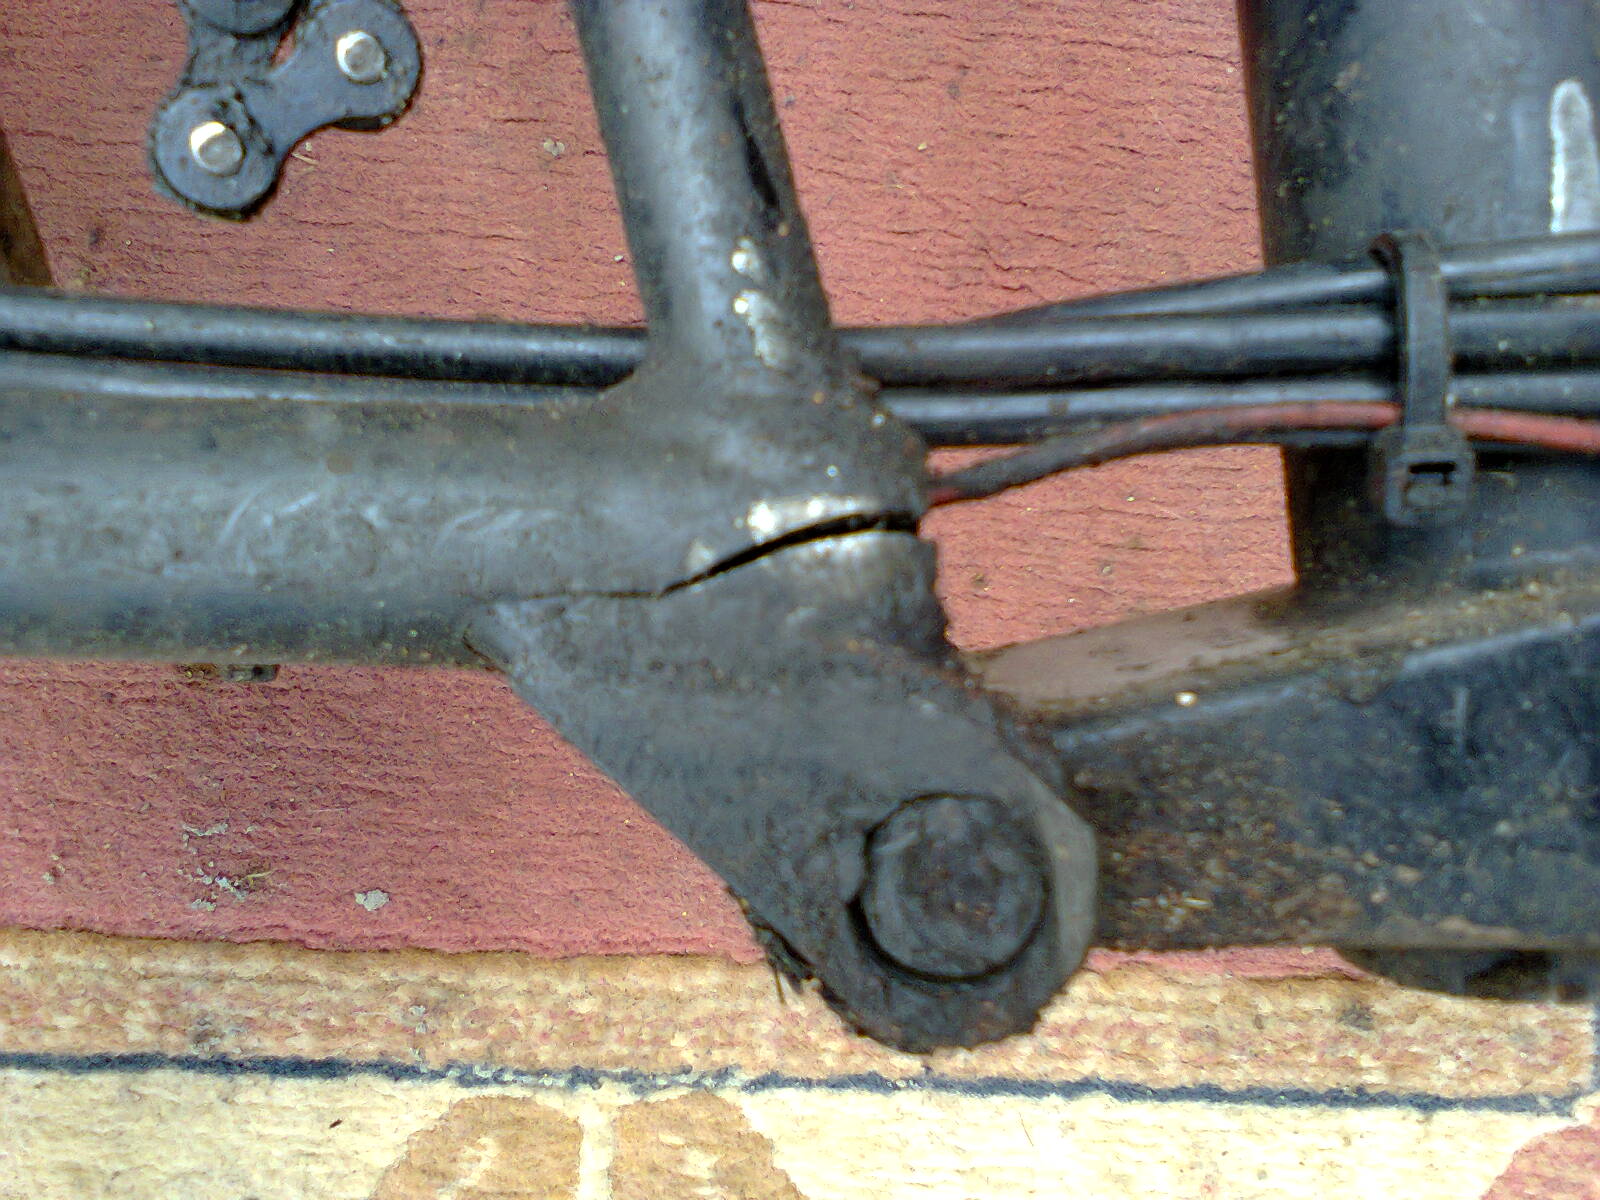
Cracked vintage Brompton rear triangle
Note the crack in the frame right in the centre of the picture. The design was improved on later Bromptons. The holes for the hinge machine screws are also worn. This happens if the hinge screws wind their way out with folding and unfolding, and whilst that's not good, in this case the wear is not extreme so only the cracked frame makes the bike unusable. Birmingham Bike Foundry told me that whilst they could weld the frame, they also told me that in their experience the weld would likely soon fail. I also consulted with Red Kite, who consulted with Brompton. Apparently the only triangle of this type they have is the one attached to a bike they have in their museum. Red Kite also spotted that one of the frame hinge clamps had cracked (thank you), but they are easily replaced and I have done that.

Tags: 

Brompton Gear Changer Pulleys

Brompton gear changer pulleys
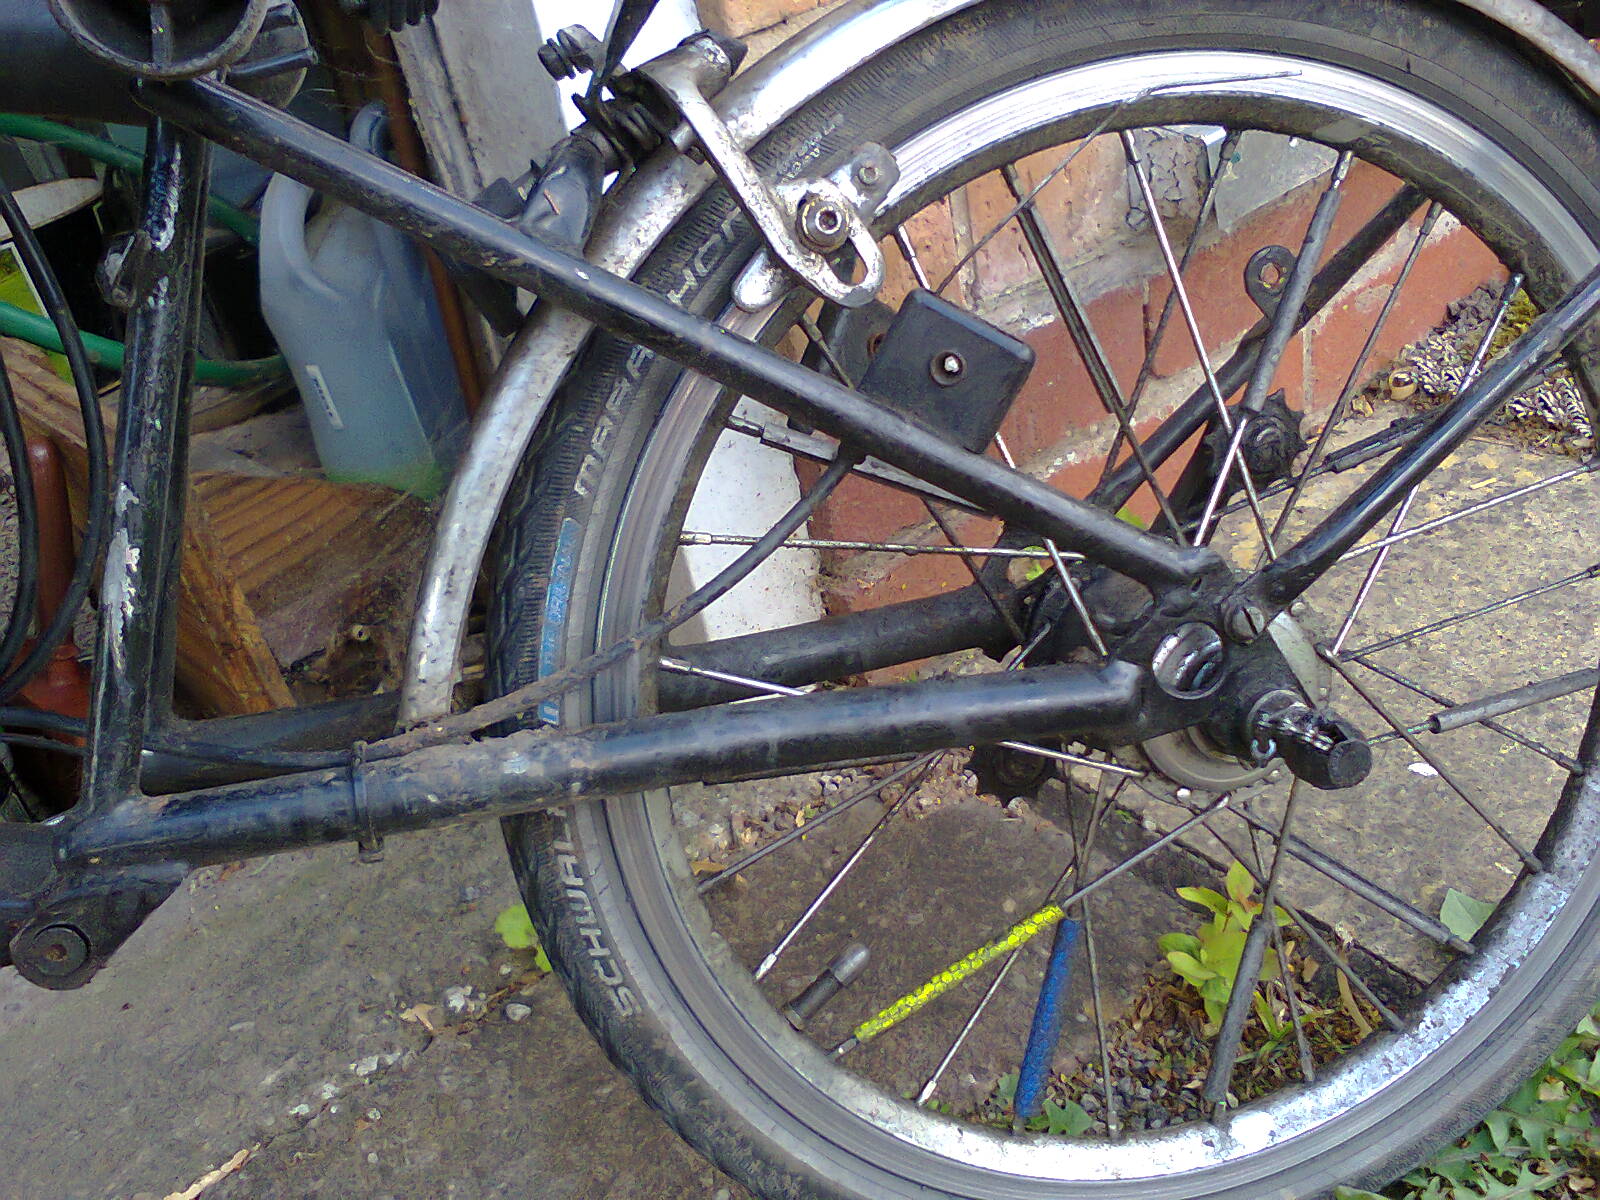
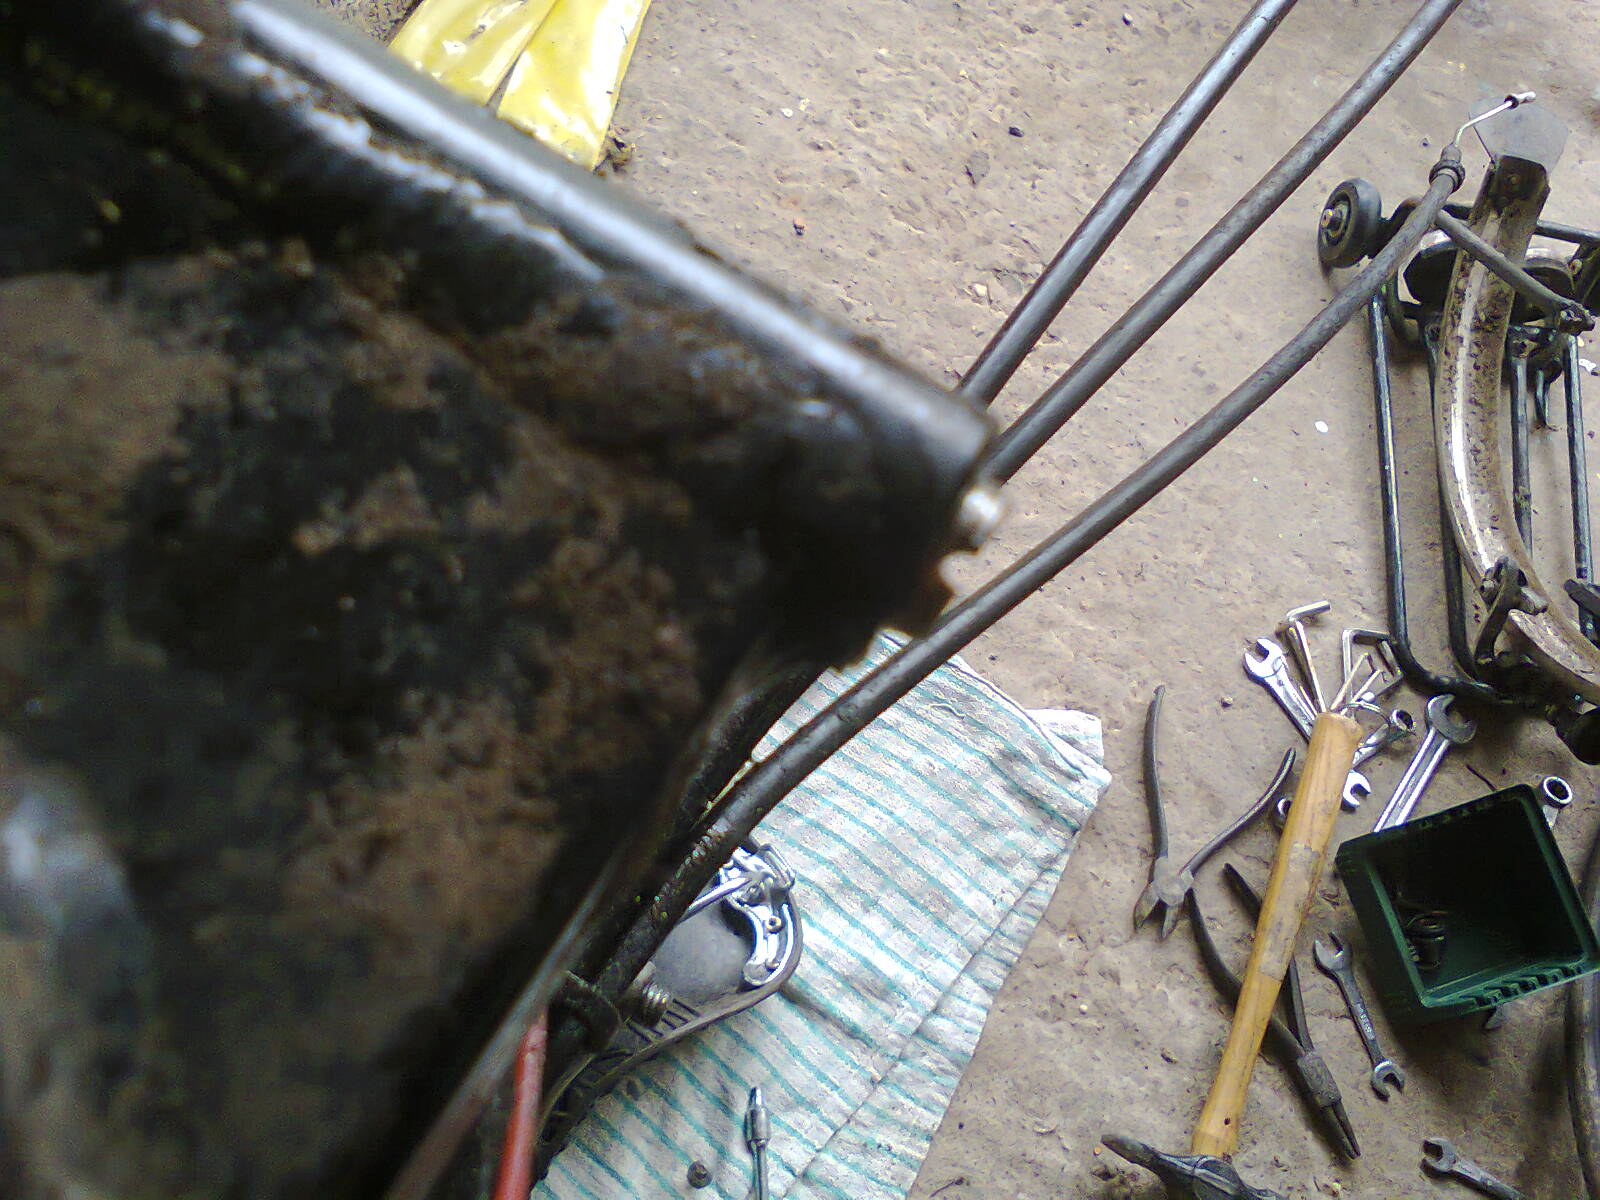
Note the small, black, rectangular block just below the brake calliper. This holds a pulley wheel. The Bowden cable comes in from below, and the inner is looped around the pulley and taken back to the small chain that operates Sturmey-Archer gears (here the two have been separated). What makes the five-speed Brompton triangle unique is that it has two of these pulleys, one on each side of the frame. The one on the right (that you can see in the background) carries the Bowden cable that selects the three ratios for which Sturmey-Archer is famous. The one on the left switches the gearbox between wide range and narrow range.

Tags: 

Brompton Triangle Differences

Brompton triangle differences
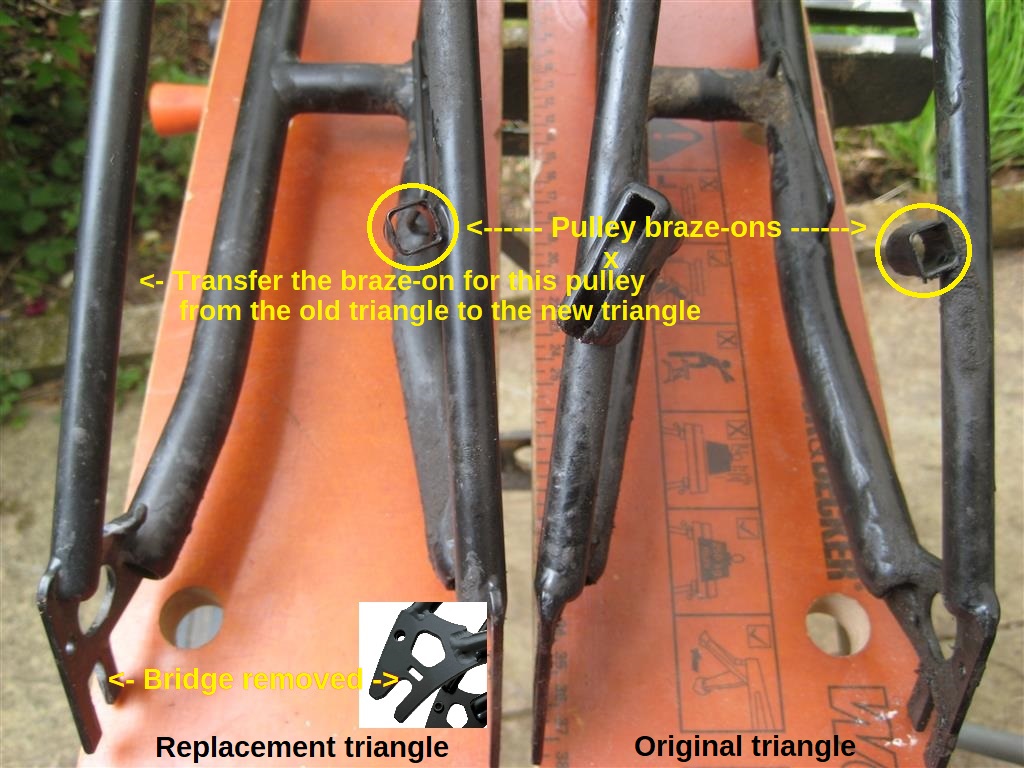
The more minor difference between the old triangle on the right and the newer triangle on the left is the small metal bridges in the rear forks of the newer triangle. These I easily removed with a junior hacksaw. The more major difference is the new frame only has one braze-on for a gear pulley block (these slide into the braze-on and are secured with a machine screw that has a circular head where the Bowden cable enters the block; I used small locking pliers to remove this easily). I very carefully removed the required additional braze-on from the old frame using a rotary tool (a Dremel). Since I only had one chance at doing this right, I erred on cutting into the frame rather than into the braze-on, and tidied up the cut edge with a hand file.

Tags: 

Preparing the Brompton Operating Table
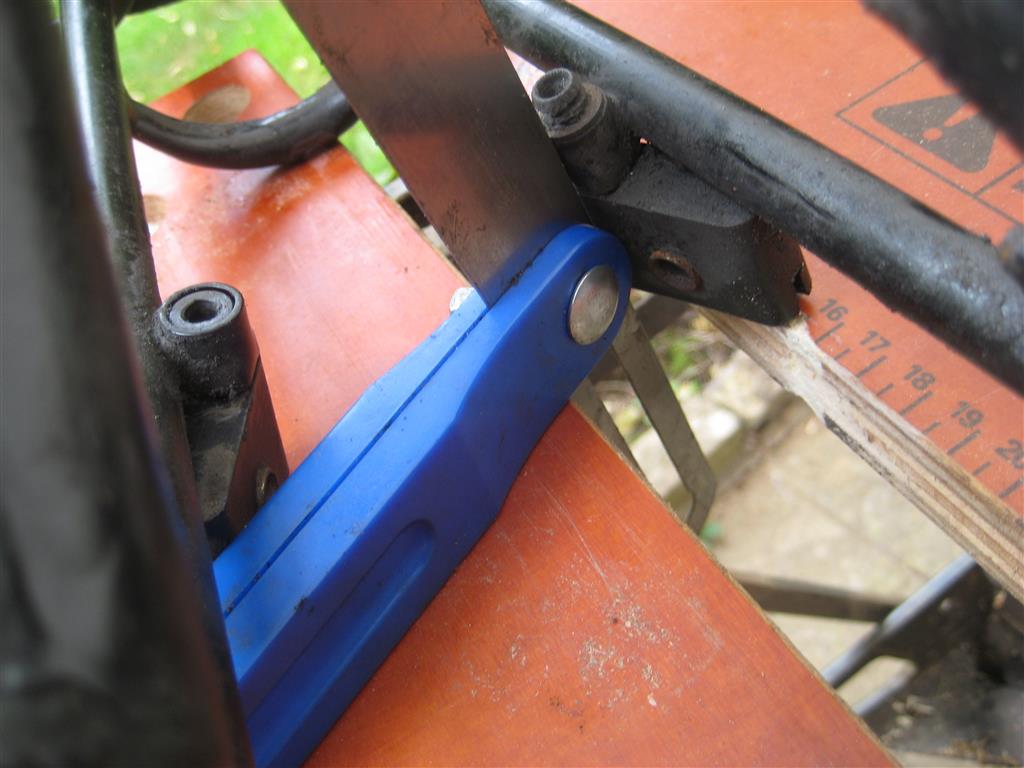
Preparing the Brompton operating table
The braze-on is attached at a very specific angle in three dimensions, so I prepared some jigs. Here I'm using a tool that allows me to maintain two of those angles. One of those angles is defined by placing the blue body of the tool against the other pulley block and the blade in line with the Bowden cable entry, whilst the other angle is defined by adjusting the blade angle to match the pulley block angle. I also needed a shim to set the angle between the surface of the bench and the top face of the pulley block. And this reveals one of the reasons I chose to use JB Weld steel reinforced epoxy to attach the braze-on. The pulley block is plastic, so it would have to be removed for brazing. With the block in place I had something to provide reference planes. Other reasons for my using JB Weld are that it gives plenty of time to adjust the angle precisely, no damage will be caused to the powder coat, and it does not require brazing tools. Of course one could offload brazing on to a good local bike shop, but if they get the angle wrong it's game over.

Tags: 

Many Hours Lateur...

Many hours lateur...
Preparation for bonding involved filing off a small patch of the powder coat and cleaning the area thoroughly with brake cleaner. That done and the epoxy applied, I must have spent half an hour fiddling about trying to get the braze-on in exactly the right position and adding a supporting bead (just like you would do if brazing). At one point the wretched thing slipped completely out of position, making it absolutely essential I located the bottle of isopropyl alcohol I had failed to locate before I started (JB Weld buys you that time). With the mess cleaned up, the second attempt was successful and I left the epoxy to cure overnight and most of the following day. Whilst it cured, the triangle, work bench and positioning jigs had to remain completely untouched by human hand or feline paw. But eventually the wait was over, and the result was purrfect. Note that the machine screw that secures the pulley block is partially removed from the right-hand block.

Tags: 

Brompton Gear Pulley Block

Brompton gear pulley block
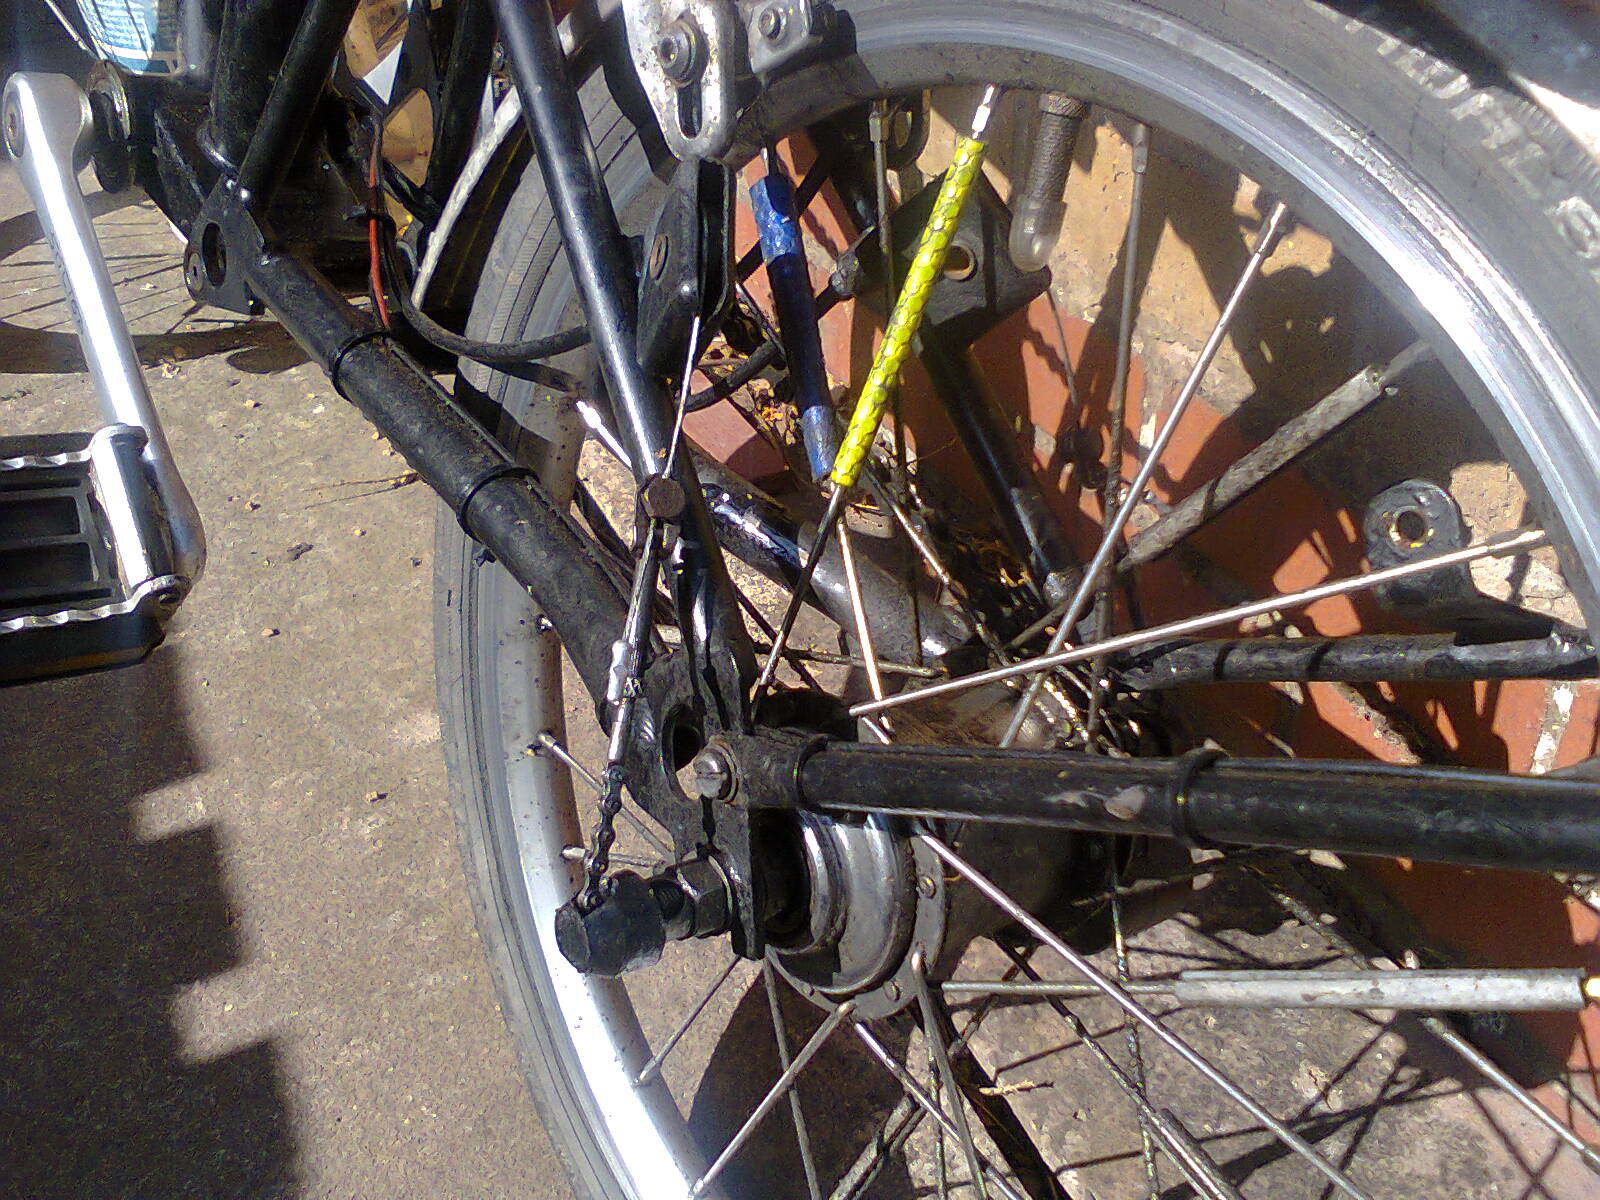
This pulley block is bonded to the triangle with JB Weld steel reinforced epoxy (which is naturally grey), but with the join area painted with smooth black Hammerite, it looks just like it did when brazed on to the original triangle. This picture shows how the Bowden inner loops over the pulley wheel. By the way, the blue and yellow spoke reflectors came as a free gift with a saddle bag I bought new off the interwebs, and I arranged them appropriately on my back wheel.

Tags: 

It Hinges on This...

It hinges on this...
If you have ever had to remove the rear triangle of a Brompton you'll know that the pin is held in position by two Allen head machine screws with a UNF thread that are thread-locked in place. Removing it is typically a pig of a job, because once one screw has been removed, there's nothing to stop the pin from turning when you try to remove the other screw. In my case one of the screws was already loose, but no matter what tricks I used from the interwebs, the other one was staying put. Some people advocate taking a hacksaw to the hinge screw, but since I wanted to keep the screws and the triangle was already scrap, those of a sensitive disposition should look away now because I took my hacksaw to the triangle. To avoid this hell in the future, using a rotary tool (a Dremel) I cut a slot in each end of the pin, just deep enough to be gripped, but not so deep they could impact the bearing surface.

Tags: 

Hinge Pin Tool

Hinge pin tool
Here's the special tool for holding the pin still that I carefully fashioned from a piece of fine tool steel. Nope, it's nothing of the sort. It's hacked out of a piece of metal that itself was recently hacked off a fence post support with an angle grinder (on account of the post support being immediately adjacent to a wall). Better craftsmen would have the right size chunky screwdriver, probably returned after every use to its own place on a rack on the wall rather than left in a pile of tools on the garage floor for the duration of the project.

Tags: 

Hinge Pin In Position

Hinge pin in position
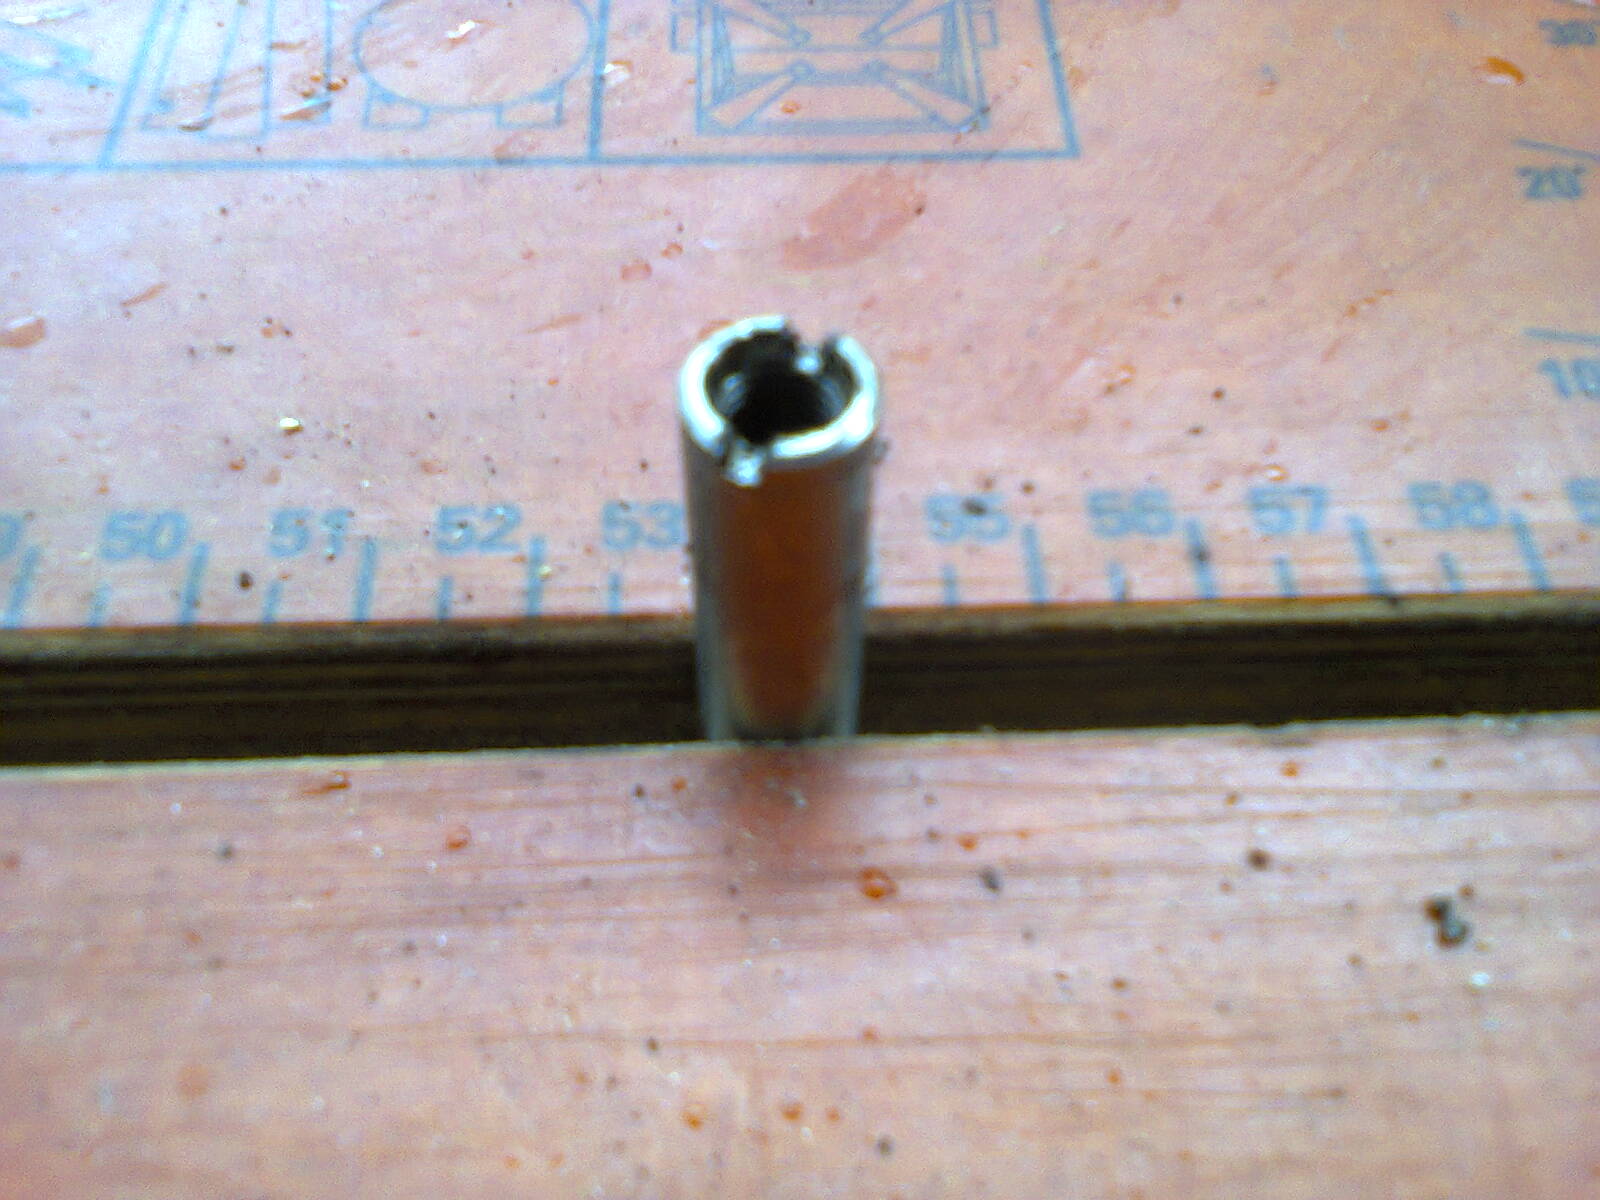
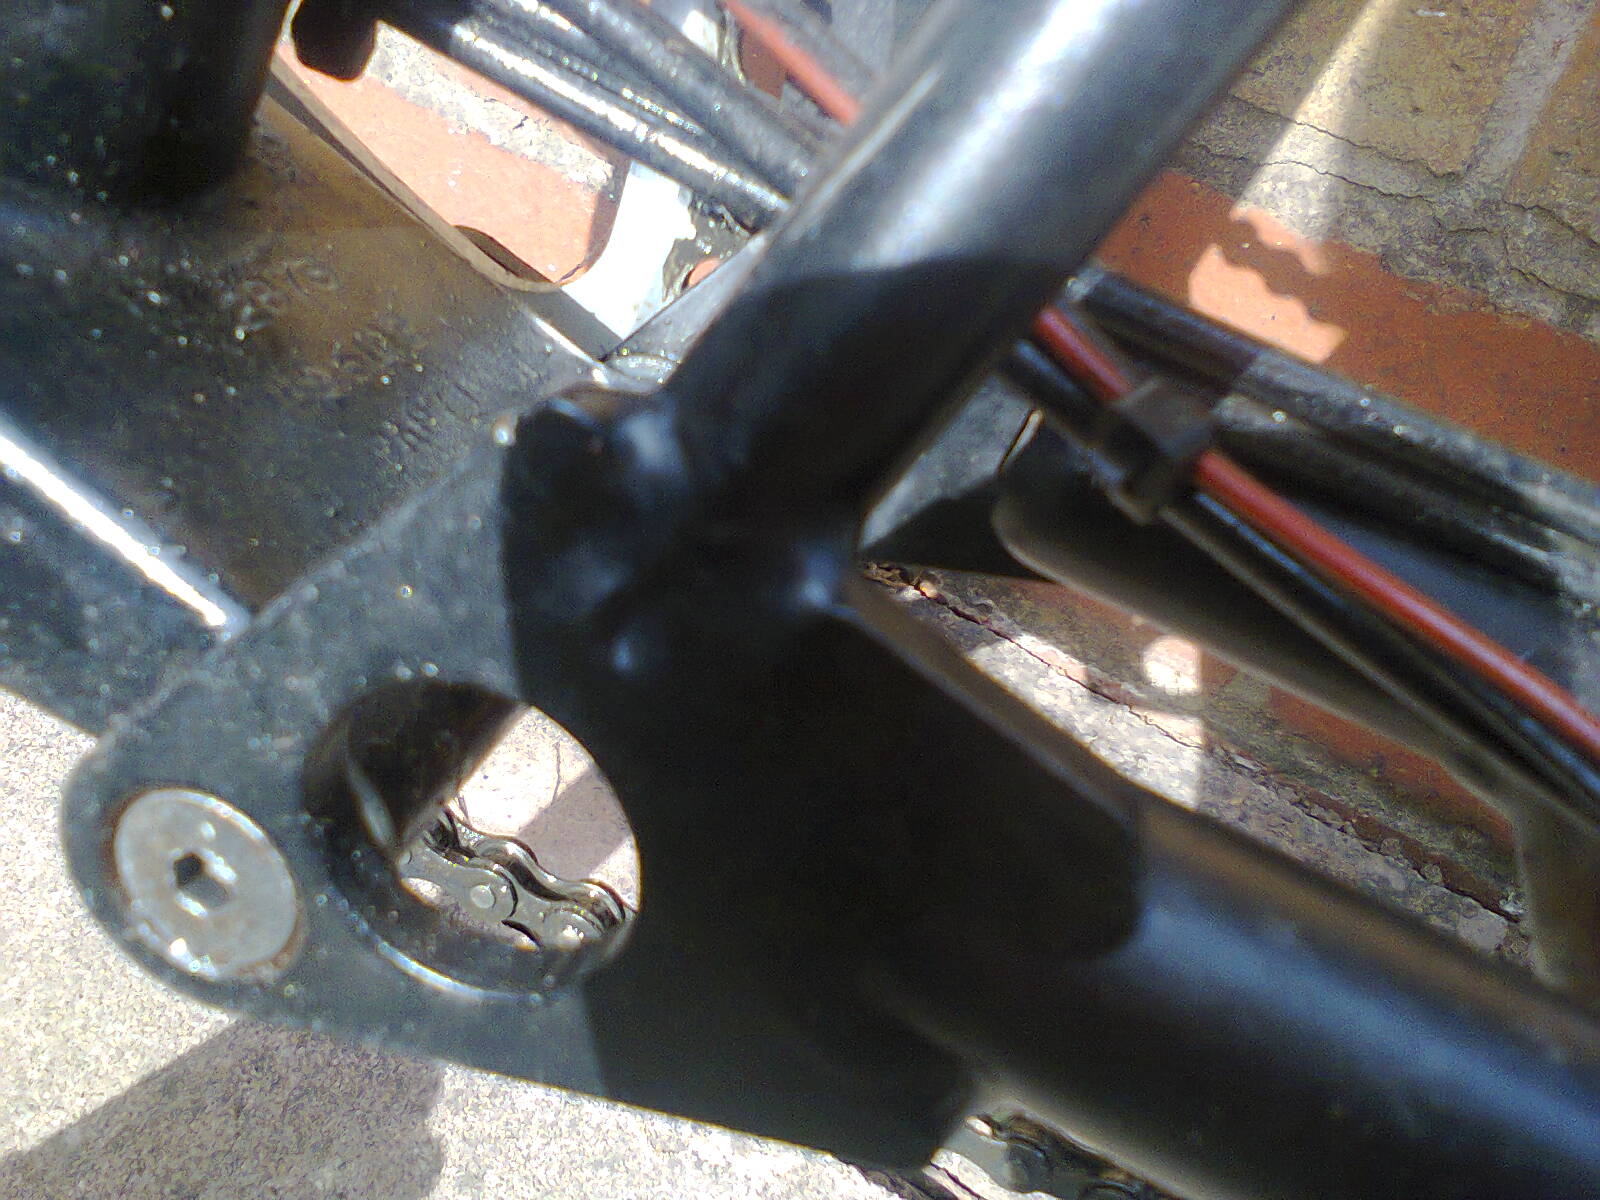
If you ignore the artistic soft focus, you should be able to make out the slot in the pin now the pin is back in the hinge. I tightened the machine screws to the required 10 Nm, but didn't thread-lock them as I would rather this was just something I keep an eye on and check during servicing. Besides, I have other plans for stopping the screws from winding their way out of the pin (they should only do this if the bike is folded and unfolded, but I don't often need to do that).

Hinge Machine Screw

Hinge machine screw
This shows one of the hinge machine screws back in position. Note how Brompton have improved the triangle design.

Tags: 

Brompton Hinge Clips

Brompton hinge clips
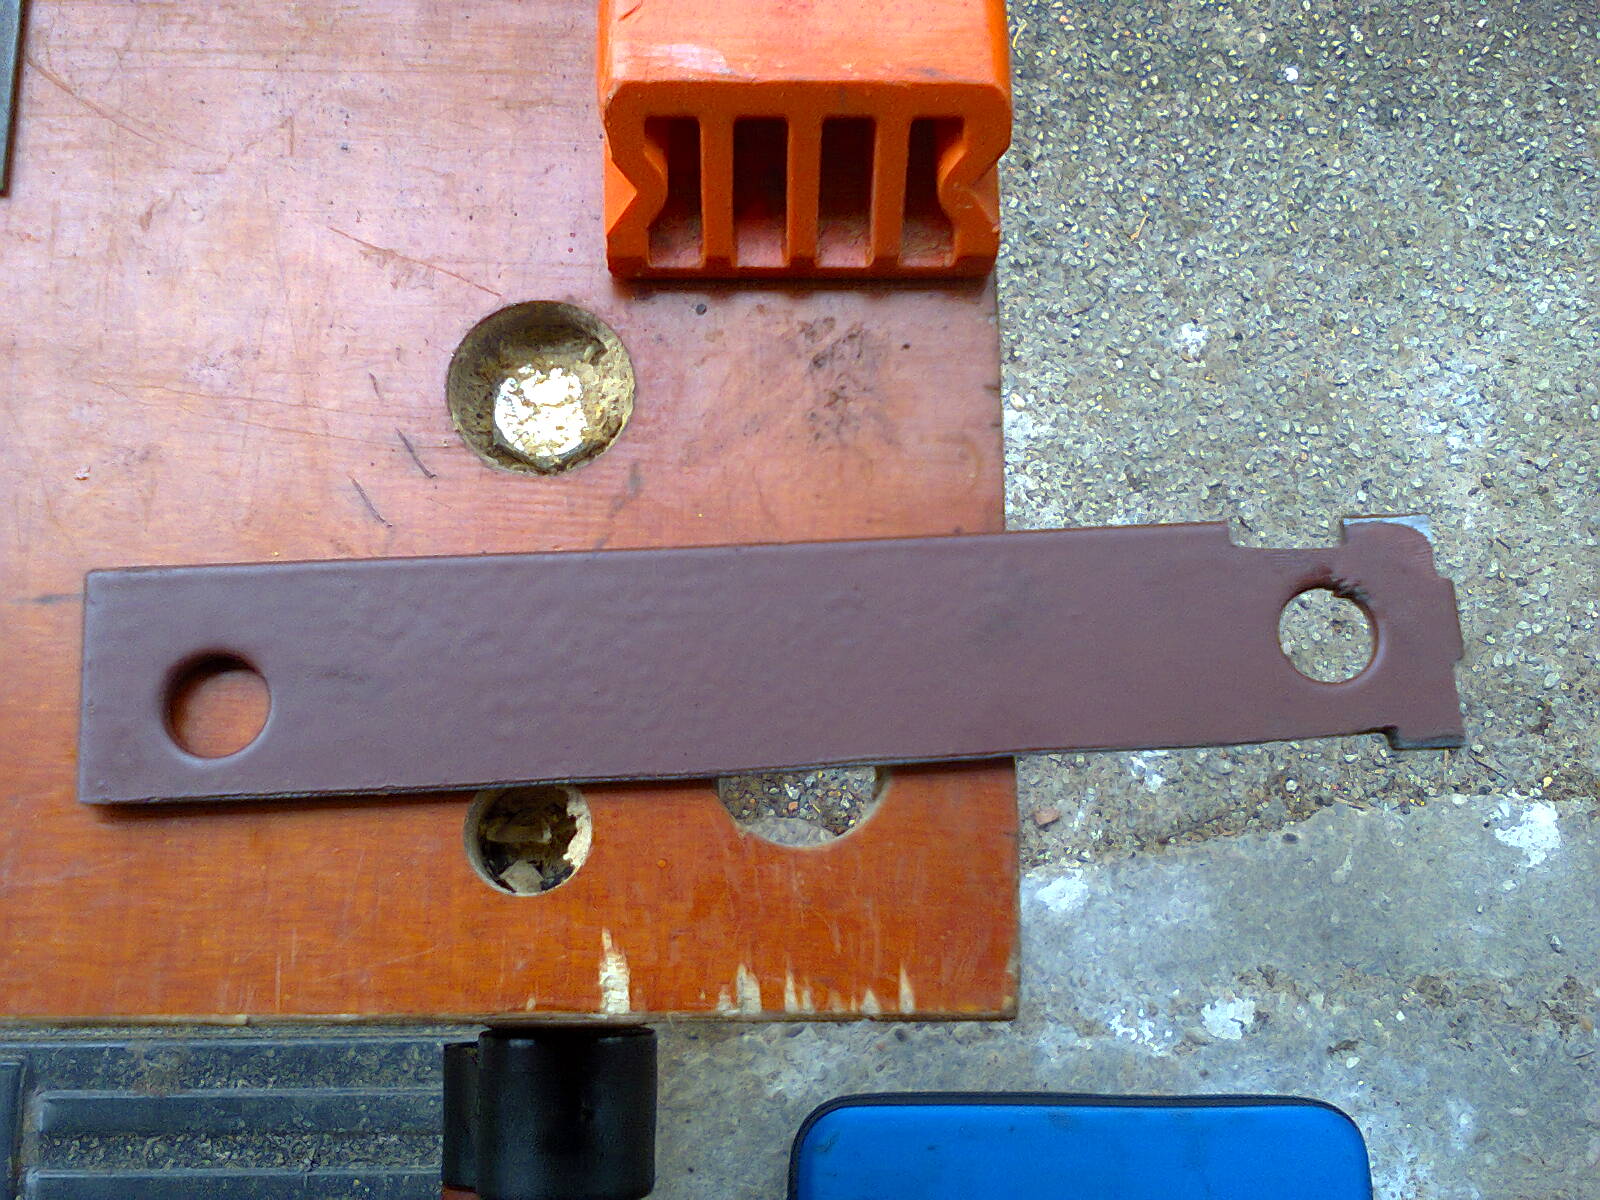
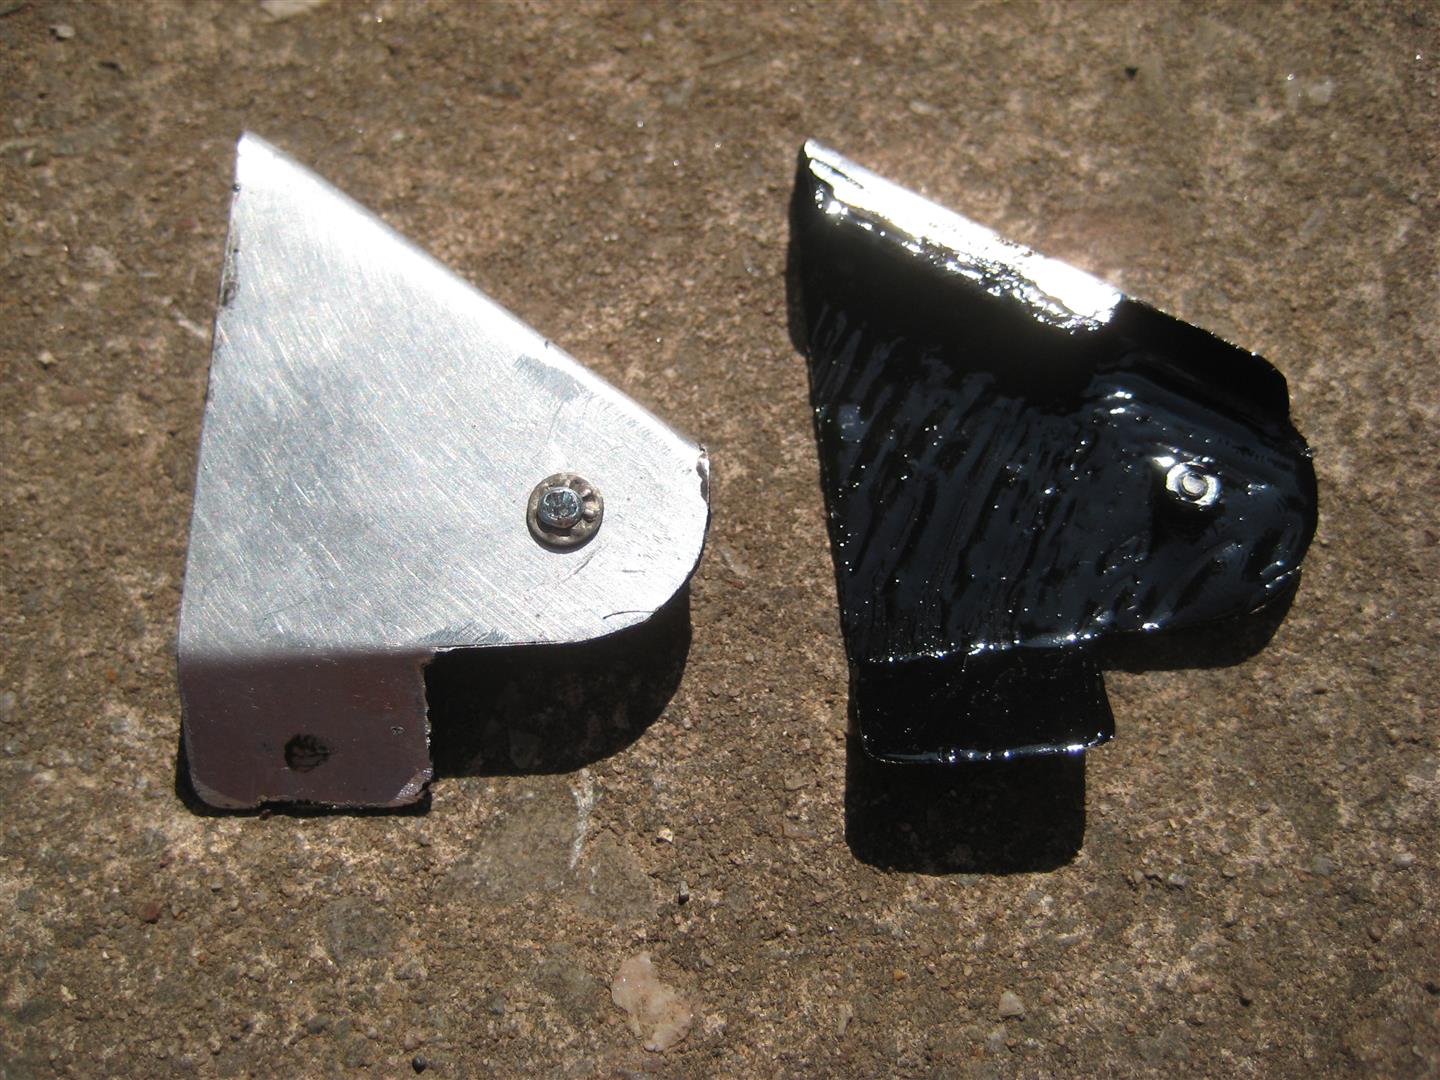
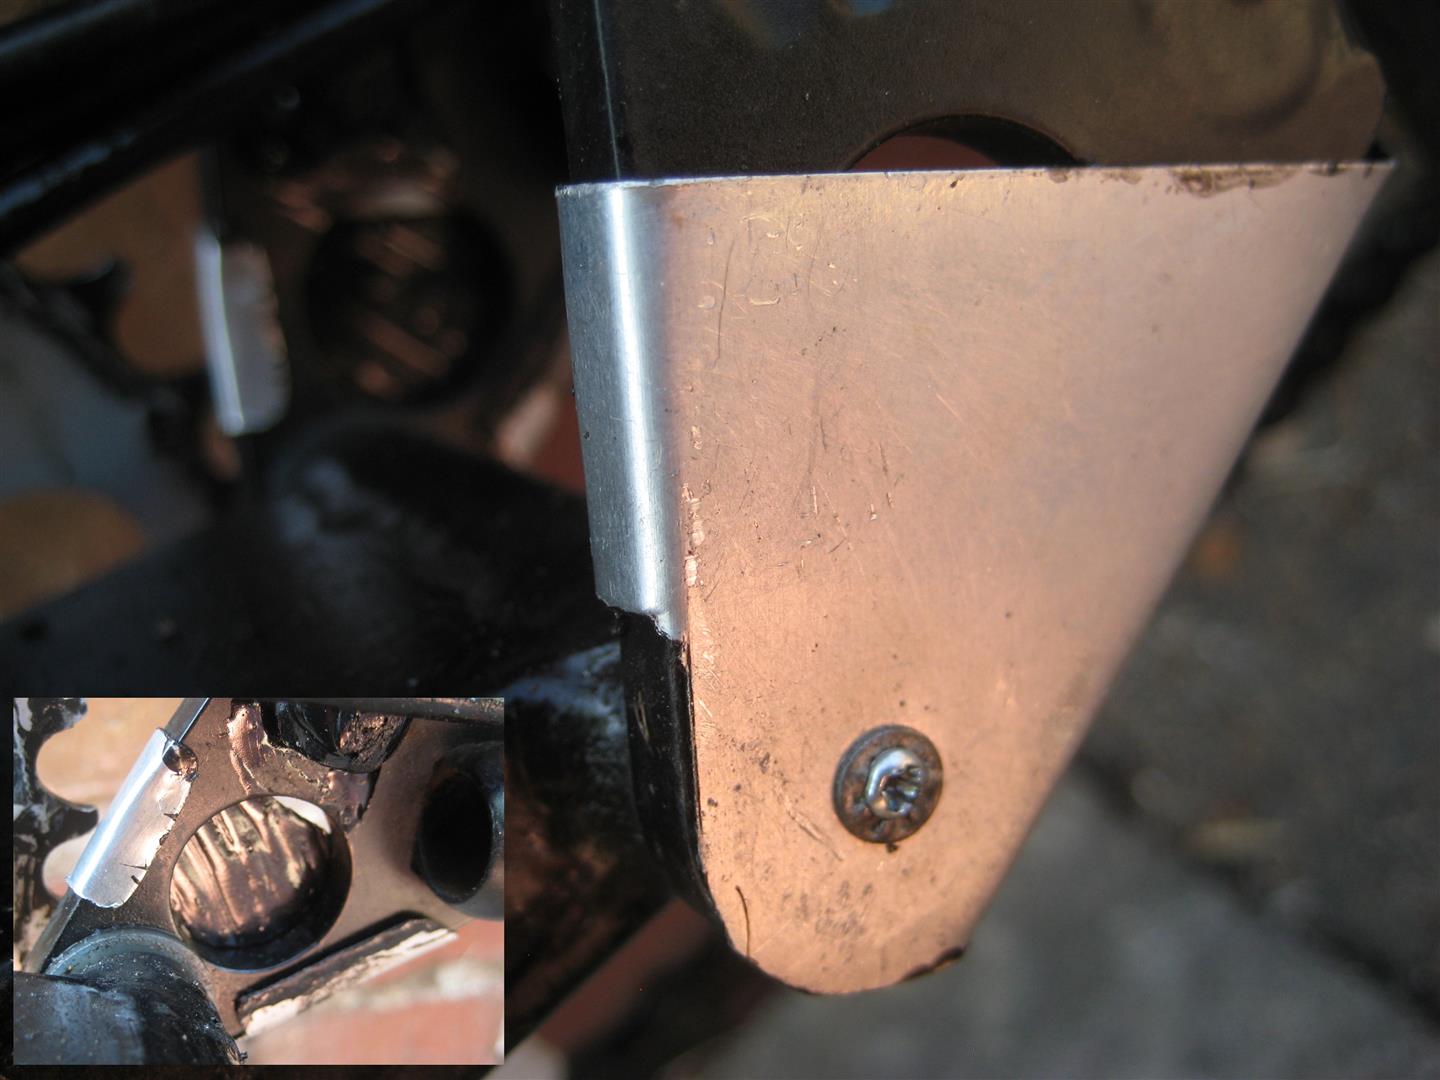
The Brompton bottom bracket hinge pin is held in place by two UNF Allen head bolts. It so happens that the nut of an M2 bolt fits perfectly in the Allen head, so I fashioned a couple of clips from sheet metal, with an M2 nut and bolt in just the right position to slot the nut into the Allen head. The nut is positioned well inside the Allen head by use of a tiny spacer under the nut. Should the machine screw try to unscrew, it will be held against a tightening nut. I'm hoping this will eliminate the need for the use of thread-lock on the machine screws, which is how Bromptons are built. The sheet metal, by the way, is the screening out of a dead laptop power brick. I was thinking of holding the locking plate in place by drilling and tapping a hole in the triangle for a small bolt, but I would rather not compromise what is a high stress part of the frame.

Tags: 

Brompton Hinge Clip (Fitted)

Brompton hinge clip (fitted)
This shows the hinge lock clips fitted (the opposite side can be seen more clearly in the inset photo).

Tags: 

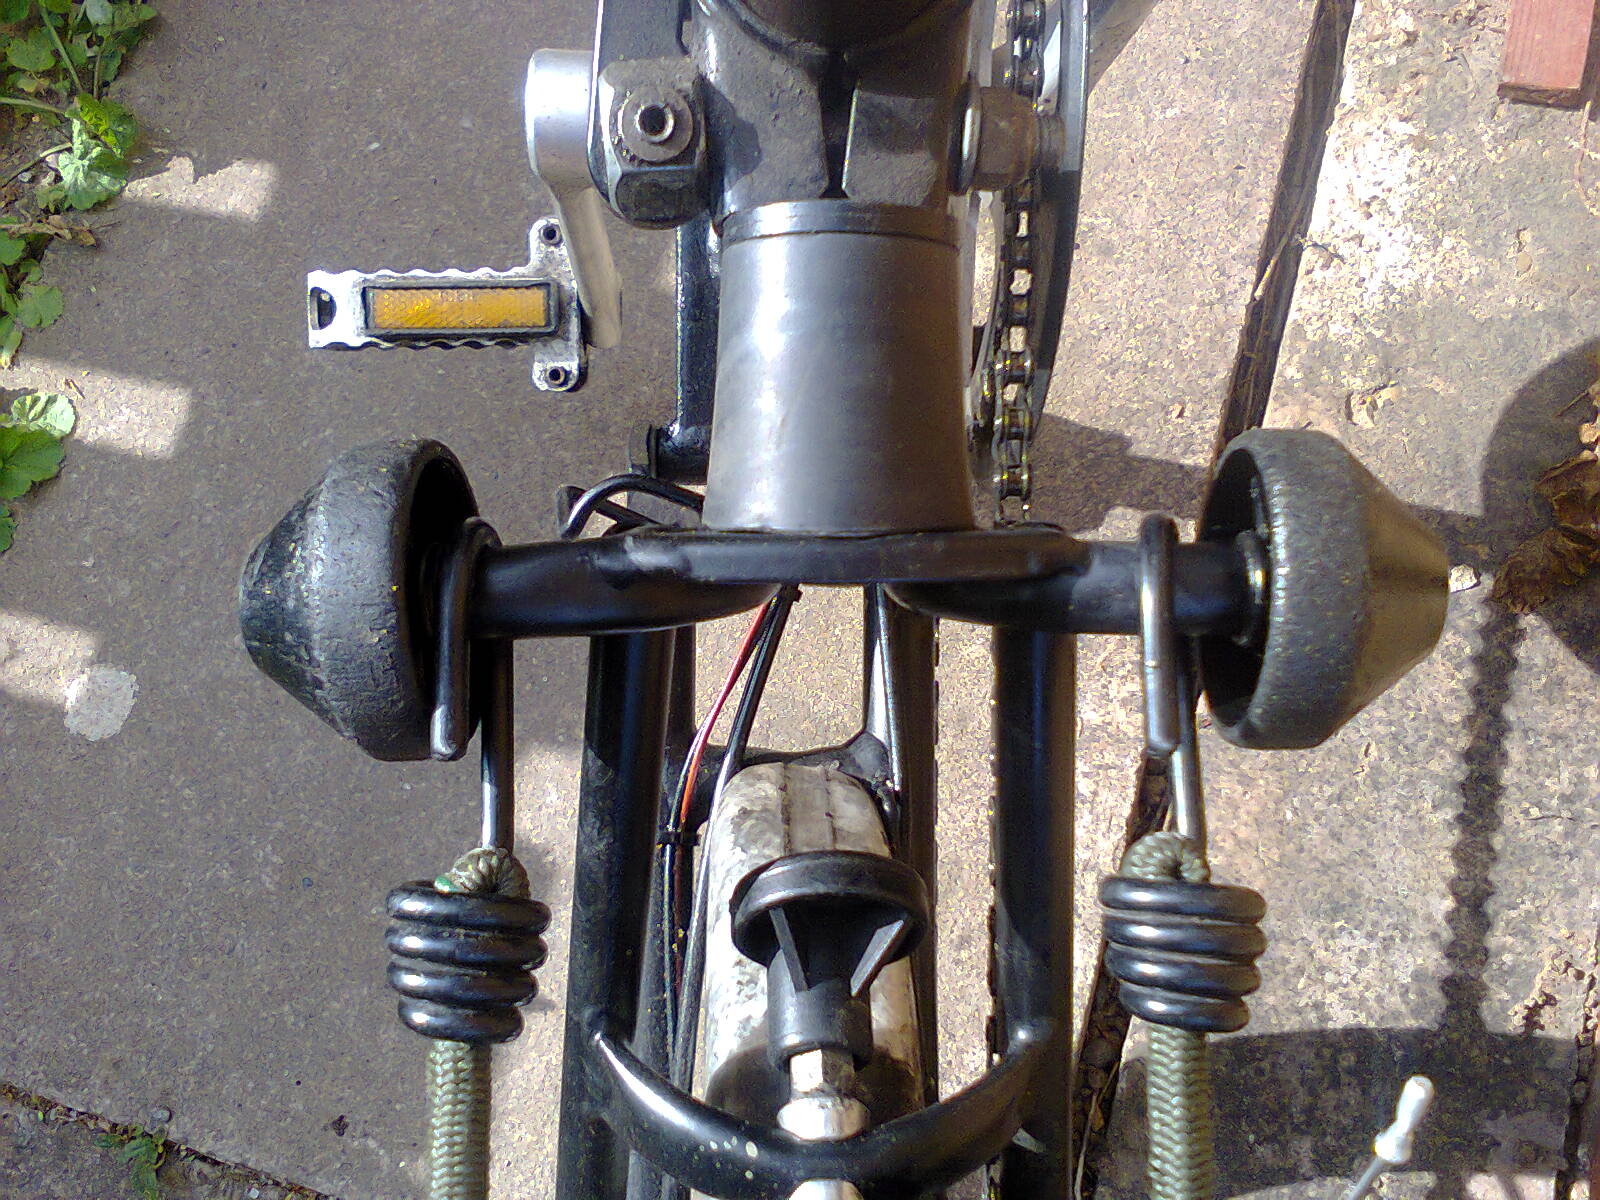
Brompton Five-Speed Rollers

Brompton five-speed rollers
When I went to replace the rollers as they had been, I found that they no longer fitted, because the flare on the mounting points is slightly larger, for ... reasons. For now I fixed that by simply fitting them the other way round (ie as in the photo). This does have the advantage that there is a bit more heel clearance, and for all I know that's how they are supposed to be (the other way round gives more stability, but it certainly looks odd). However, these rollers were never great, and I may well switch them for luggage trolley wheels, like I did with the rear rack. You can also use inline skate wheels, but if you do it's critical you lubricate the super-precision bearings only with snake oil. Or you can mortgage your house and buy the official Brompton product.

Tags: